Physical Centering Tools: Overlay Cards, Rulers and 3D-Printed Guides
Transparent overlays, calipers, printed templates and 3D-printed jigs for card centering: how each works, what it can resolve, and when a physical tool beats an app.
Physical centering tools are the oldest way to answer the question, and they have not been made obsolete. A transparent overlay sorts a box of cards faster than any app. A digital caliper is the most precise thing most collectors will ever own. A printed template costs nothing. A 3D-printed jig makes a repeatable setup out of a wobbly one.
What matters is knowing what each one can actually resolve, because the numbers you are chasing are small. The gap between PSA's published Gem Mint 10 front line of approximately 55/45 and its 9 line of approximately 60/40 is 5 ratio points, which on a 5 mm combined border is 0.25 mm of border width. Any tool whose own ambiguity is a couple of tenths of a millimetre is not going to separate those two grades reliably, no matter how confident it feels in the hand.
This article goes through the four categories honestly: what each measures, the arithmetic of its resolution, how to use it correctly, and when it beats a photo-based measurement.
What "good enough" means, in millimetres
Centering is a ratio, so a fixed measurement error costs more on a thin border than a thick one. Start from a truly 50/50 card and misread one border, then misread both in opposite directions, which is what a mis-seated card or a crooked ruler actually does.
| True border, each side | Error per side | One side wrong | Both wrong in opposite directions |
|---|---|---|---|
| 1.5 mm (thin, Japanese-style) | 0.25 mm | 53.8/46.2 | 58.3/41.7 |
| 2.0 mm (typical sports white border) | 0.25 mm | 52.9/47.1 | 56.3/43.7 |
| 2.0 mm | 0.10 mm | 51.2/48.8 | 52.5/47.5 |
| 2.5 mm (English Pokemon-style) | 0.25 mm | 52.4/47.6 | 55.0/45.0 |
| 2.5 mm | 0.10 mm | 51.0/49.0 | 52.0/48.0 |
Read that against the ladder. A quarter-millimetre error can put a perfectly centred card on the Gem line. A tenth of a millimetre keeps you within one to two points, which is enough to tell a 55/45 from a 58/42. So the target for any tool you intend to make a submission decision with is about 0.1 mm, and a tool that can only manage 0.25 mm is a screening device. Our what centering ratios mean in millimeters article has the conversion in the other direction, from ratio to actual border widths on common card designs.
Category 1: transparent overlays and grid templates
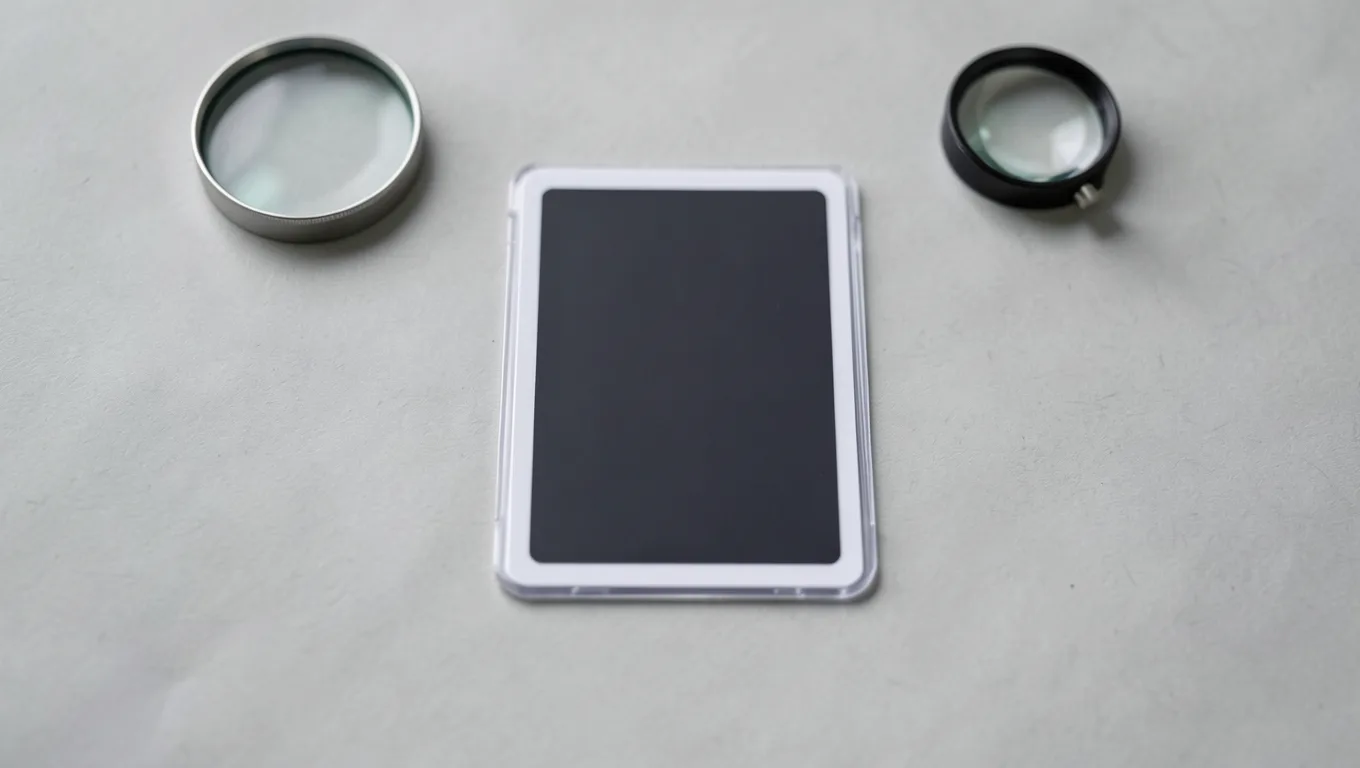
What it is. A clear sheet, card-sized or larger, printed with a grid or with pairs of lines marking specific ratios: a 55/45 pair, a 60/40 pair, sometimes a percentage scale along each edge. You lay it over the card and see which lines the border falls between. Commercial versions are sold to collectors under various brand names; they are all variations on the same principle, and none of them changes the physics below.
What it can resolve. Three things limit it, and they add.
- Line thickness. A printed line has width. If a line is 0.3 mm wide, you have to decide whether the border edge sits at its inner edge, its centre or its outer edge, and that decision is worth about 0.15 mm. Applied to both sides in opposite directions on a 2 mm border, that spans 2.15 versus 1.85, which is 53.75/46.25: nearly four ratio points of ambiguity on a card that is dead centre.
- Seating. If the card sits a fraction rotated or a fraction shifted under the overlay, every reading moves together. This is the error that a jig fixes and a loose sheet does not.
- Parallax. You are reading a line on one plane against an edge on another, separated by the thickness of the film plus the card. Look from even slightly off vertical and the two shift relative to each other. Always read from directly above.
How to use one properly.
- Card out of the sleeve. The sleeve edge is not the card edge.
- Work on a flat, matte, contrasting surface under even light from two sides.
- Seat the card against a physical reference, ideally two perpendicular walls or a corner, so it cannot rotate.
- Lay the overlay down without sliding it across the card surface. Dragging printed film across a glossy holo is how you make a hairline.
- Read from directly above, one eye, straight down.
- Read all four sides, then check the back.
Where it genuinely wins. Speed on volume. If you are working through a box, an overlay separates "obviously fine," "obviously not" and "needs a real measurement" faster than anything else, with no setup and no battery. That is a real job, and it is worth doing well.
Where it fails. It cannot give you a number, so it cannot be compared across cards, quoted to a buyer, or checked against a second company's ladder. And an overlay drawn for one border geometry misleads you on another: a template whose 55/45 marks assume a 2.5 mm border will not sit correctly on a 1.5 mm border. Check what your template was drawn for.
Category 2: rulers and digital calipers
The ruler. A steel ruler with millimetre marks, held square to the edge, zero exactly on the card edge, reading to the outer edge of the printed border. Plastic rulers are often printed slightly off and have thick markings; steel ones are cheap and better. Realistic resolution is about a quarter of a millimetre, so from the table above a ruler moves your answer by up to three to six points on a typical border. That makes it a screening tool, exactly like an overlay, with the advantage that it produces a number.
The caliper. This is the best physical instrument most collectors will own, and inexpensive ones are fine. Displays read to 0.01 mm; placement, not the display, limits you to roughly 0.1 mm in practice, which holds the ratio to within a point or two.
Technique:
- Close the jaws and zero the display before every session.
- Rest one outside jaw gently against the card edge and bring the other to the outer edge of the printed border. Do not clamp. Card stock is soft and the corner is the most valuable part of it.
- Take two readings per side, roughly 15 mm in from each corner, and average them. If they differ by more than about 0.2 mm the card is skewed, which is worth knowing on its own.
- Repeat on the opposite border, then the other axis, then the back.
- Apply the formula: larger border divided by the sum of the pair, times 100.
The caliper's weakness is deciding where the printed border actually ends. Under magnification the outer edge of a printed line is often soft, and on designs with a thin outer frame inside the main border there are two plausible stopping points. Pick one and be consistent on all four sides; a consistent choice gives a consistent ratio even if someone else would have picked the other line.
Category 3: printed percentage templates
The zero-cost option: print a template on transparency film, or print a scale you lay alongside the card. It works, with one non-negotiable step.
Calibrate the print. Consumer printer drivers routinely default to fit-to-page, which scales the page by a few percent, and even with scaling off, printers are not dimensionally perfect. A 3% scale error on a 2.5 mm marking is 0.075 mm, which is already close to your whole error budget.
So: put a 100 mm reference line in the file. Print with scaling explicitly disabled ("actual size", "100%", "no scaling"). Measure the printed reference line with a caliper. If it is not 100 mm, adjust and reprint. Do this once and note the setting.
Two more practical points. Print on transparency film, not paper, so you can lay it over the card rather than beside it, and use the thinnest line weight that survives your printer, because line thickness is your resolution. A laser printer will generally hold a finer line than an inkjet on film.
Category 4: 3D-printed jigs
A jig is a tray with two perpendicular reference walls and, usually, a window or marked scales. Its purpose is not extra precision in the reading; it is repeatability. It removes the seating error that makes overlays inconsistent, and it makes a phone photo repeatable too by fixing where the card sits.
The catch is that you are now trusting a part you made. Consumer FDM printers are typically accurate to a few tenths of a millimetre unless calibrated, and shrinkage varies with material and print settings. A few tenths of a millimetre is the same magnitude as the entire difference you are trying to measure. So:
- Measure the finished jig with a caliper against the model's stated dimensions before you use it for anything. If the reference walls are not square, or the card pocket is undersized, the jig is confidently wrong, which is worse than being obviously imprecise.
- Check the card does not rock. A raised blob on the print floor tilts the card and reintroduces the exact error the jig exists to remove.
- Deburr the reference walls. A stray strand between the wall and the card edge is a measurable offset.
- Watch the fit. A pocket cut to exactly 63.5 x 88.9 mm will not accept a card without force. You want the card seated into a corner, not squeezed into a box.
- Remember the geometry is card-specific if the jig has ratio marks printed or modelled into it.
Used as a photo stage rather than a measuring device, a jig is genuinely useful: card seated square, phone rested on the jig's frame or a fixed arm, same geometry every time. That combination gives you repeatability from the jig and resolution from the camera, which is the best of both.
Physical tool vs photo-based measurement
| Physical tool | Photo or scan measurement | |
|---|---|---|
| Speed on one card | Fast for pass/fail, slower for a full four-sided number | Slower to set up, then fast |
| Speed on 200 cards | Overlay wins comfortably | Loses |
| Typical resolution | Ruler ~0.25 mm, overlay ~0.2 mm, caliper ~0.1 mm | ~0.03 to 0.04 mm per pixel if the card fills the frame |
| Gives a number | Caliper and ruler yes, overlay no | Yes |
| Both axes, front and back, in one record | Manual | Automatic |
| Compares to several companies' ladders | You do it | The tool does it |
| Main failure mode | Seating, line thickness, parallax, pressure marks | Camera tilt, glare, sleeve edges, wrong reference line |
| Needs setup | No | Yes: flat card, straight-down camera, two diffuse lights |
| Touches the card | Yes | No |
Two honest observations. First, the resolution column flatters the camera, because a photo's real-world accuracy is set by tilt, not by pixels; a badly shot photo is worse than a ruler. The protocol that closes that gap is in how to photograph a card so its centering measures correctly, and a frank account of every error source is in do card centering apps and tools actually work?.
Second, physical tools touch the card and photo-based ones do not. A caliper jaw pressed into a corner, an overlay dragged across a holo, a jig with a rough edge: all of these can cost you more grade than the centering point you were chasing. Corners and surface are worth more than the last ratio point.
The combination that actually works
You do not have to choose. The setup most collectors converge on is:
- Overlay or eyeball to triage a stack into fine, not fine, and borderline.
- A straight-down photo of every borderline card, measured properly on both axes, front and back. The free centering calculator does this in the browser with manual guide lines, and the Card Centering Calculator app measures from a photo and maps the result to the PSA, BGS, CGC, SGC and TAG standards.
- A caliper as the tiebreaker on anything that lands within a point or two of a grade line. Two independent instruments agreeing within a point is a much stronger result than one instrument reporting a confident decimal.
That last point is the real argument for owning a physical tool in 2026. Not that it beats a camera, but that it disagrees with a camera in a way that tells you something. A photo and a caliper that both say 56/44 is a card you can make a decision about. A photo that says 53/47 and a caliper that says 58/42 means one of the two setups is wrong, and you have just been saved a grading fee.
Common mistakes
- Aligning to the sleeve. A penny sleeve sits about a millimetre outside the card. Take the card out.
- Aligning to the artwork. The cutter, not the designer, determines centering. Measure to the outer edge of the printed border.
- Clamping the caliper. A dented corner is a worse outcome than an unmeasured card.
- Trusting an uncalibrated print. Fit-to-page silently shrinks your template.
- Trusting an unmeasured 3D print. Verify the part against a caliper before you trust the part.
- Reading an overlay from an angle. Parallax between the film and the card edge moves the answer.
- One reading per side. Misses tapered and diamond cuts, which Beckett and SGC both name explicitly in their scales.
- Measuring the front only. PSA, BGS, CGC and TAG each publish a separate back tolerance (SGC publishes none), and backs are usually worse.
- Treating pass/fail as a measurement. An overlay tells you which side of a line you are on, not by how much, and "by how much" is the whole question on a borderline card.
Bottom line
- Your accuracy target is about 0.1 mm. That is what it takes to separate PSA's approximately 55/45 Gem line from its approximately 60/40 Mint line, which is 0.25 mm of border width on a 5 mm combined border.
- Transparent overlays are triage, not measurement. Printed line thickness alone can span about four ratio points on a 2 mm border, and seating and parallax add more.
- A digital caliper is the best physical instrument for most collectors: about 0.1 mm in practice, good enough to tell a 55/45 from a 58/42. Take two readings per side and never clamp.
- Home-printed templates work if you calibrate them with a 100 mm reference line and print with scaling disabled, on transparency film with the finest line your printer holds.
- 3D-printed jigs buy repeatability, not precision, and only after you verify the printed part with a caliper. Their best use is as a stage for a repeatable photo.
- Align to the card edge and the outer printed border, never the sleeve and never the artwork, and measure both axes on the front and the back.
- The strongest workflow uses both: overlay to sort, a straight-down photo for the number, and a caliper as an independent tiebreaker on anything near a grade line.
Frequently asked questions
Do transparent centering overlay tools actually work?
They work as a fast pass or fail sort, not as a measurement. An overlay gives you a yes-or-no answer against whatever lines were drawn on it, and its resolution is limited by the thickness of those printed lines and by how squarely you seat the card. On a 2 mm border, an ambiguity of 0.15 mm on each side in opposite directions spans about four ratio points, which is most of the distance between a Gem line and a Mint line. Use one to triage a stack, then measure the survivors properly.
What is the most accurate physical tool for measuring card centering?
A digital caliper. The display resolves 0.01 mm, and in practice your placement of the jaw on the printed border line limits you to roughly 0.1 mm, which on a typical 2 to 3 mm border holds the ratio to within a point or two. That is fine enough to separate a 55/45 from a 58/42, which is exactly the distinction that matters at the top grade. Cheap calipers are adequate; technique is the limiting factor, not the instrument.
Are 3D-printed centering jigs any good?
They can be, provided you verify the printed part rather than trusting the model. A consumer FDM printer's dimensional accuracy is typically a few tenths of a millimetre unless it has been calibrated, and a few tenths of a millimetre is the same size as the difference you are trying to see. Measure the finished jig against a caliper before you rely on it, check that the card seats square with no rocking, and remember that a jig built for one border geometry will mislead you on another card.
Can I print my own centering template at home?
Yes, but calibrate it. Home printers routinely scale a page by a small percentage, and consumer printer drivers often default to fit-to-page, which shrinks everything. Include a 100 mm reference line in the file, print with scaling turned off, measure that line with a ruler or caliper, and reprint until it measures 100 mm. Print on transparency film rather than paper so you can lay it over the card, and use the thinnest line weight that stays visible.
Should I use a physical tool or an app to measure centering?
Use a physical tool when you are sorting a lot of cards quickly, when you have no camera setup, or when you want a second independent check on a borderline card. Use a photo-based tool when you want an actual number on both axes, front and back, compared with several companies' published tolerances, and a record you can keep or send to a buyer. The two disagree in useful ways: if a caliper and a photo measurement agree within a point, you can trust the answer.
Where exactly do I align a centering tool on the card?
To the physical edge of the cardboard and the outer edge of the printed border, never to the sleeve and never to the artwork. The sleeve edge sits about a millimetre outside the card, and artwork is placed by the designer rather than by the cutter, so neither tells you anything about where the cut fell. If your card has a thin outer frame line inside the main border, pick one line and be consistent about it on all four sides.